


Now Reading: 10 Budget-Friendly DIY Wooden Home Decor Ideas for Indian Apartments
-
01
10 Budget-Friendly DIY Wooden Home Decor Ideas for Indian Apartments
10 Budget-Friendly DIY Wooden Home Decor Ideas for Indian Apartments


Transform your Indian apartment with DIY wooden decor! Discover 10 budget-friendly projects using crates, branches, and scrap wood to build shelves, lighting, and furniture. Add sustainable warmth and personal charm to your home with simple, hands-on creativity.
The Warmth of Wood in Concrete Jungles
Close your eyes and imagine: the gentle creak of a wooden swing on a grandmother’s porch, the smooth grain of an old writing desk, the scent of sandalwood during a festival. Wood, in the Indian soul, is more than just a material—it’s memory, it’s warmth, it’s home. Yet, as we’ve moved into sleek city apartments, that organic warmth has often been replaced by cold laminate, glossy plastic, and mass-produced particle board. Our homes can start to feel like stylish showrooms rather than lived-in sanctuaries.
But what if you could bring that warmth back without breaking the bank or undertaking a full renovation? What if the most charming, personal, and soulful additions to your home could come from your own two hands and a few pieces of humble wood?
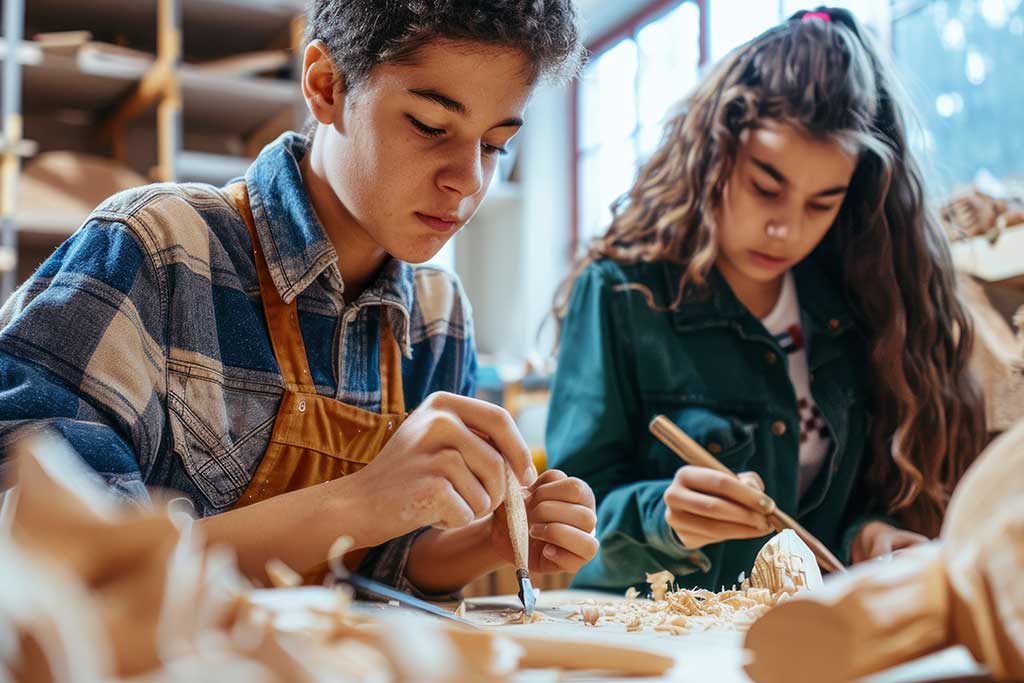
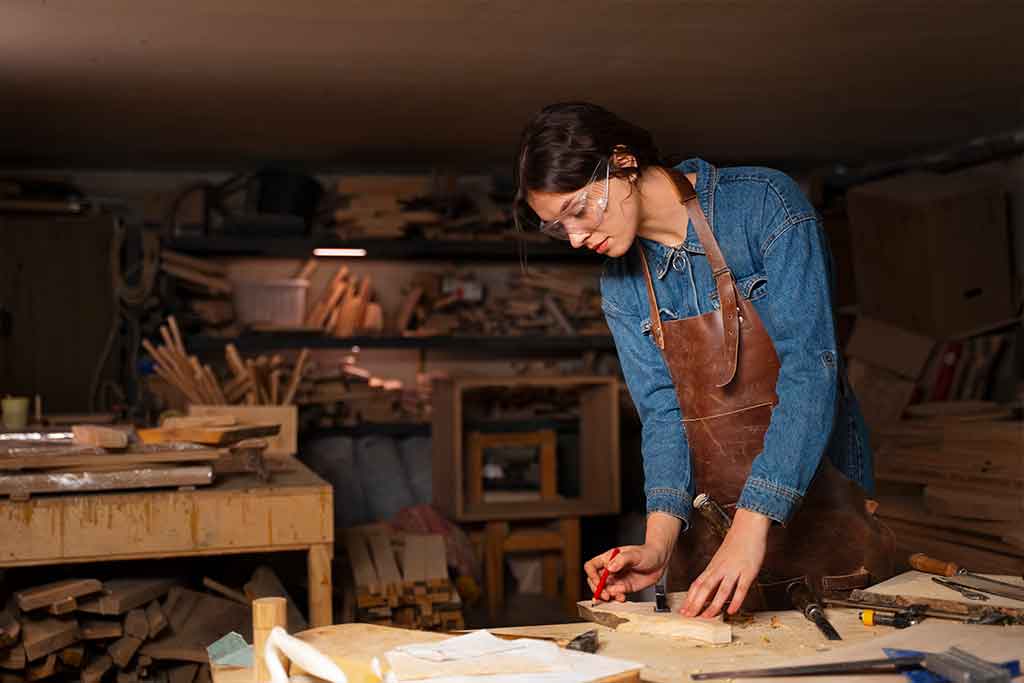
Welcome to the world of DIY wooden decor—where budget constraints become creative catalysts. In a country where skilled carpenters are revered, why not channel a bit of that ‘Vishwakarma’ spirit yourself? This is not about perfect, factory-made furniture. It’s about unique, imperfect, heartfelt creations that tell your story. Let’s explore 10 achievable, affordable, and utterly beautiful wooden projects to transform your Indian apartment into a cozy, character-filled home.
Idea 1: The Crate & Behold Bookshelf (The Ladder to Knowledge)
The Humble Hero: Wooden fruit/milk crates, often discarded by local vendors or available for a few rupees at the kirana store or mandi.
The Transformation: A modular, customizable, and free-standing bookshelf that grows with your collection.
Step-by-Step Creation:
- Source & Sanitize: Collect 4-6 identical wooden crates. Give them a good scrub with soapy water and let them dry completely in the sun. This removes any residue and kills germs.
- Sand & Smooth: Use medium-grit sandpaper to smooth out any rough edges and splinters. This step is crucial for safety and a finished look.
- The Colour Choice:
- Natural Charm: Simply apply 2-3 coats of clear, water-based varnish or linseed oil. This protects the wood and highlights its natural grain and markings.
- Painted Pop: Use acrylic or enamel paint in a colour that matches your room. Mustard yellow for a study nook, soft sage green for a balcony corner, or classic white for a timeless look.
- Assemble Your Puzzle: Here’s the fun part—there’s no single way! Arrange the crates in different formations until you find one you love.
- Classic Tower: Stack them vertically, directly on top of each other.
- Modern Grid: Create a 2×2 or 3×2 square formation.
- Asymmetrical Art: Stagger them for a dynamic, contemporary feel.
- Secure & Stabilize: For a permanent structure, use wood glue and small L-brackets on the inside where the crates meet. For a flexible one you can change later, just stack them securely.
Pro-Tips for the Indian Home:
- Dual Duty: Place the shelf as a room divider between your living and dining areas. The crates’ open-back design allows light through.
- Beyond Books: Use some cubes to store toys, display potted plants like money plants or succulents, or organize your collection of spice boxes (dabbas).
Estimated Cost: ₹300 – ₹800 (for crates, sandpaper, and varnish/paint)
Idea 2: The Pallet Perch (A Sofa from Scrap)
The Humble Hero: Wooden pallets, the unsung heroes of logistics. Check with local factories, warehouses, or furniture shops. They often give them away for free or for a nominal fee.
The Transformation: A trendy, low-slung sofa or daybed for your balcony or living room corner.
Step-by-Step Creation:
- Disassemble & Prep: You’ll need 3-4 pallets. Disassemble one pallet carefully to use its planks for later. Sand every surface and edge of the remaining pallets aggressively—this will be a seating area, so smoothness is key.
- Build the Base: For a two-seater sofa, take two full pallets and place them side-by-side on the floor. This is your seat base. For the backrest, take a third pallet and stand it upright against the wall, securely attaching it to the base pallets using long screws or metal brackets from behind.
- Create Comfort: This is where the disassembled pallet comes in. Use its planks to create a solid, comfortable sitting surface on the base pallets by nailing them close together over any gaps.
- Cushion the Deal: Measure the seat area and get cushions made from a local durrie or mattress shop. Use thick, washable foam. For a truly Indian touch, cover them with vibrant Kalamkari or Bandhani fabric.
- Add Wheels (Optional): Attach four caster wheels to the bottom for a mobile sofa you can move into the sun or shade.
Pro-Tips for the Indian Home:
- Monsoon-Proof: If it’s for a balcony, use outdoor-grade wood varnish or paint to protect it from humidity and rain.
- Storage Bonus: The gaps in the base pallets are perfect for storing magazines, blankets, or board games in woven baskets.
Estimated Cost: ₹0 – ₹500 (for pallets) + ₹1,500 – ₹3,000 (for custom cushions)
Idea 3: The Branching Out Coat Rack (Nature’s Welcome)
The Humble Hero: A sturdy, interestingly shaped tree branch found on a walk in a park (with permission, of course!) or purchased from a local nursery for bonsai/garden supplies.
The Transformation: A functional sculpture for your entryway that brings a slice of nature indoors.
Step-by-Step Creation:
- Find Your Branch: Look for a branch about 2-3 feet long with several smaller offshoots. Teak, mango, or acacia wood are durable choices. Ensure it’s dry and free of insects.
- Treat the Wood: Scrub it clean and let it dry. You can bake it in the sun for a few days or in a low-temperature oven for an hour to kill any bugs and dry it thoroughly.
- Prepare for Hanging: Sand the branch smooth. You can leave the bark on for a rustic look or peel it off for a sleeker feel. Apply a coat of varnish.
- The Hooks: The smaller offshoots become your natural hooks! Sand their tips well. For added capacity, you can screw in small, decorative metal hooks alongside the branches.
- Hang with Strength: Attach two strong picture-hanging D-rings or screw eyes to the back of the main branch. Use sturdy wall anchors to hang it securely on your entryway wall. It needs to hold the weight of bags and coats.
Pro-Tips for the Indian Home:
- Puja Corner Touch: Hang it near your entrance to hold visitors’ shawls or your own daily-use bags. Add a small shelf below for keys and wallets.
- Jewellery Tree: Make a smaller version for the bedroom. Hang necklaces, chains, and bangles from the branches for a beautiful, tangle-free display.
Estimated Cost: ₹0 – ₹200 (for branch) + ₹100 (for varnish and hardware)
Idea 4: The Slice of Life Wall Art (Cross-Section Chronicles)
The Humble Hero: Discarded tree trunk slices or logs. Often available for free where trees are being trimmed, from local firewood sellers, or garden centers.
The Transformation: A stunning, organic wall gallery that showcases the beautiful rings of a tree’s life.
Step-by-Step Creation:
- Source & Slice: Find logs of varying diameters (from 3 inches to 12 inches). If you can’t find pre-sliced rounds, ask a friendly local carpenter or badhi to slice them for you into 1-inch thick rounds.
- The Great Dry-Out: This is the most critical step to prevent cracking and mold. Let the wood slices dry completely in a shaded, airy spot for several weeks. You can also dry them in the sun, turning them frequently.
- Sand to Perfection: Once bone-dry, sand both sides of each slice until they are silky smooth. Start with coarse grit and finish with fine grit sandpaper.
- Seal the Beauty: Apply a clear wood sealant, varnish, or even a thin coat of epoxy resin to preserve the wood, highlight the rings, and create a wipeable surface.
- Arrange & Adhere: Lay out your slices on the floor first. Play with patterns—a cascading vertical line, a clustered cloud, or a geometric grid. Attach them to the wall using strong adhesive foam pads or discreet screws from the front for an industrial look.
Pro-Tips for the Indian Home:
- Coasters & Trivets: Make extra small slices into beautiful, natural coasters. Felt pads on the bottom will protect your furniture.
- Festive Touch: Paint the edges of some slices in metallic gold or copper for a festive look during Diwali.
Estimated Cost: ₹0 – ₹300 (for slices and sealant)
Idea 5: The Reclaimed Window Frame Mirror (A Portal to Space)
The Humble Hero: An old, discarded wooden window frame from a demolished building, a junkyard, or even your own home renovation.
The Transformation: A vintage-style mirror that adds depth, light, and the illusion of space to a small room.
Step-by-Step Creation:
- Find the Frame: Look for a frame with interesting moulding. Don’t worry about broken glass or chipped paint—that adds character.
- Clean & Stabilize: Remove any remaining glass carefully. Clean the frame thoroughly. If it’s wobbly, reinforce the corners with small metal brackets on the back.
- To Paint or Not to Paint: You can strip old paint for a raw wood look, sand and whitewash it for a Scandinavian feel, or leave it as-is for a perfectly shabby-chic aesthetic.
- The Mirror Insert: Take precise measurements of the inner opening. Order a plain mirror cut to size from a local glass shop. This is your main investment but still very affordable.
- Secure the Mirror: Place the mirror into the frame from the back. Secure it using mirror clips or a thin wooden batten nailed around the inside edge. Add a picture wire to the back for hanging.
Pro-Tips for the Indian Home:
- Small Room Magic: Hang it opposite a window in a dark hallway or small bedroom to double the natural light.
- Photo Gallery: Without the mirror, use the panes of the window frame to display a curated collection of small family photographs, creating an instant heirloom gallery.
Estimated Cost: ₹0 – ₹500 (for frame) + ₹800 – ₹1,500 (for custom-cut mirror)
Idea 6: The Bamboo Bliss Light Fixture (Eco-Chic Illumination)
The Humble Hero: Bamboo poles, one of India’s most sustainable and versatile materials, available at any local nursery or garden store.
The Transformation: A stunning, natural pendant lamp that casts beautiful patterned shadows.
Step-by-Step Creation:
- Design & Measure: Decide on a shape—a simple cylinder, a cube, or a ball. Measure the space where it will hang (over a dining table, in a corner).
- Cut the Bamboo: Use a fine-toothed saw to cut bamboo poles into uniform lengths (e.g., 12-inch pieces for a cylinder). You’ll need 20-30 pieces.
- Create the Structure: For a cylinder, make two identical circular hoops from a flexible vine or thin metal wire. Space your bamboo pieces vertically between the two hoops, securing them at the top and bottom with strong twine or thin wire, like building a barrel.
- The Electrical Part (SAFETY FIRST!): Purchase a simple pendant light cord kit with a bulb holder from a hardware store. Always ensure the cord is properly insulated and connections are secure. Thread the cord through the top of your bamboo structure.
- Hang & Illuminate: Suspend the fixture from a secure ceiling hook. Use a low-wattage LED bulb that emits minimal heat.
Pro-Tips for the Indian Home:
- Balcony Ambiance: Create smaller versions with tea-light holders inside for magical balcony evenings.
- No-Wire Wonder: Simply place the bamboo structure over a existing standing lamp for an instant shade makeover, with no electrical work needed.
Estimated Cost: ₹200 – ₹500 (for bamboo and cord kit)
Idea 7: The Spice of Life Wall Shelf (Functional Farmhouse Chic)
The Humble Hero: Reclaimed wooden planks (from old furniture, packaging crates, or construction sites) and rustic metal brackets.
The Transformation: A charming, open shelving unit perfect for the kitchen to store spices, jars, and crockery.
Step-by-Step Creation:
- Plank Preparation: Find 3-4 planks, each about 3-4 feet long and 8-10 inches wide. Sand them smooth and finish with a food-safe mineral oil or varnish.
- Bracket Beauty: Source simple L-shaped metal brackets from a hardware store. You can leave them as-is for an industrial look or spray-paint them black, brass, or a pop colour.
- Level & Mark: Use a spirit level to mark perfectly horizontal lines on your kitchen wall where you want each shelf.
- Secure the Brackets: Screw the vertical part of the brackets firmly into wall studs or using strong wall anchors (crucial for holding weight).
- Shelf Placement: Place your wooden planks on the brackets and secure them from below with screws drilled up through the bracket into the wood.
Pro-Tips for the Indian Home:
- Label in Style: Store spices in identical glass jars. Label them with a dab of chalk paint on the lid, written on with a chalk marker.
- Herb Garden: Reserve the sunniest shelf for small pots of fresh tulsi, mint, and coriander.
Estimated Cost: ₹300 – ₹800 (for planks, brackets, and finish)
Idea 8: The ‘Charpai’ Inspired Coffee Table (Desi Modern)
The Humble Hero: Bamboo or wooden poles (like those used in a traditional charpai or rope bed), and thick cotton rope or nylon cord.
The Transformation: A lightweight, bohemian-style coffee table with undeniable Indian character.
Step-by-Step Creation:
- Build the Frame: Create two identical squares (approx. 2ft x 2ft) using four bamboo poles for each, joined at the corners with screws or strong lashings.
- Create the Legs: Attach four equal-length bamboo poles vertically at each corner of the bottom square, then attach the top square to create the table frame.
- The Weaving: This is the meditative part! Use thick, durable rope. Start in one corner and create a tight, criss-cross weave across the top square to form the table surface. Pull tightly as you go. Secure the rope ends with knots or tucks underneath.
- Add a Glass Top (Optional): For a flat surface to hold drinks, order a square of clear glass to place on top. The glass shop can smooth the edges.
Pro-Tips for the Indian Home:
- Dual Height: Make it slightly higher to use as a dining table for floor seating (baithak style).
- Outdoor Friendly: The materials make it perfect for balconies and terraces; just carry it indoors during heavy rain.
Estimated Cost: ₹600 – ₹1,200 (for bamboo, rope, and optional glass)
Idea 9: The Rolling Wooden Cart (The Mobile Multi-Tasker)
The Humble Hero: An old wooden drawer (from a discarded dressing table or desk) and four small caster wheels.
The Transformation: A stylish, movable storage solution for any room.
Step-by-Step Creation:
- Find the Drawer: The sturdier, the better. An old teak or sheesham drawer is ideal.
- Revive the Wood: Sand it inside and out. You can paint the inside a bright colour and varnish the outside to show the grain.
- Attach Wheels: Screw four swivelling caster wheels securely to the bottom, one near each corner. Ensure they lock to keep the cart stationary when needed.
- Add a Handle (Optional): Attach a leather strap or a vintage drawer pull to one end for easy pulling.
- Style & Use: Line it with pretty fabric. Use it as a bathroom caddy, a bar cart for parties, a moving toy bin for kids, or a plant stand.
Pro-Tips for the Indian Home:
- Kitchen Helper: Perfect for transporting dishes from kitchen to dining area during large family gatherings.
- Puja Supplies: Dedicate one to hold diyas, incense, and prayer books, rolling it to your puja spot each morning.
Estimated Cost: ₹0 – ₹200 (for old drawer) + ₹300 (for wheels and paint)
Idea 10: The Wooden Block Photo Display (Memory Lane)
The Humble Hero: Small scrap blocks of wood from a carpenter’s workshop (they often have off-cuts they’ll give away).
The Transformation: A tactile, modern way to display photos without frames.
Step-by-Step Creation:
- Gather Blocks: Collect blocks of different sizes and shapes. Sand every surface until super smooth.
- Finish the Wood: Stain them in different shades (walnut, oak, natural) or paint them in muted, complementary colours.
- Attach the Hardware: Screw a small bulldog clip or a stylish clothespeg to the top of each block. Alternatively, you can glue a small, flat magnet to the back of the block and another to the back of your photo.
- Print Your Photos: Print favourite pictures in small sizes (2×3 or 3×4 inches) on matte photo paper for a classic look.
- Arrange on a Ledge: Simply place the blocks on a mantel, windowsill, or a long, thin shelf. Clip or attach the photos and rearrange them whenever you like.
Pro-Tips for the Indian Home:
- Kids’ Art Gallery: Use the clips to display your child’s latest drawings, rotating them weekly.
- Recipe Holder: Keep one in the kitchen to hold the recipe you’re following, preventing your phone or book from getting splattered.
Estimated Cost: ₹0 – ₹100 (for wood blocks and clips)
The Heart of the Home: Why Wood Works
These projects are about more than saving money. They are about:
- Sustainability: Giving materials a second life.
- Mindfulness: The slow, satisfying process of working with your hands.
- Storytelling: Filling your home with objects that have a personal narrative.
- Warmth: Introducing the organic, calming energy of wood into synthetic urban spaces.
You don’t need a fancy workshop. A balcony corner, a basic toolkit (hammer, saw, sandpaper, screwdriver), and a willingness to try are enough. Start with one small project this weekend. Feel the wood, sand it smooth, and watch as something functional and beautiful emerges from your effort. Your apartment won’t just look different—it will feel like home.
Previous Post
Next Post
Previous Post
Next Post


Advertisement

Advertisement