


Now Reading: Traditional Indian Woodworking Meets Modern DIY: Crafting a Sheesham Wood Coffee Table
-
01
Traditional Indian Woodworking Meets Modern DIY: Crafting a Sheesham Wood Coffee Table
Traditional Indian Woodworking Meets Modern DIY: Crafting a Sheesham Wood Coffee Table


Build a timeless Sheesham wood coffee table blending Indian tradition with DIY. Learn to select wood, use modern tools for classic joints, and apply beautiful finishes. Create a functional heirloom that brings warmth and heritage into your contemporary living space.
The Living Room’s New Family Heirloom
Picture this: a Sunday evening in your living room. The scent of ginger chai fills the air. Your favourite book rests on a solid surface, a cup warming the space beside it. That surface is not cold glass or mass-produced laminate. It is warm, golden-brown wood, kissed with the rich, swirling grain of Indian Sheesham. And you made it.
For generations, Sheesham wood (Indian Rosewood) has been the quiet, sturdy soul of North Indian homes. It was the wedding almirah built to last a lifetime, the grandfather’s writing desk that held family secrets, the peeli (yellow) kursi on the verandah that witnessed countless conversations. This wood carries the memory of monsoons and sun in its grain. It is our heritage.
Yet, in our modern apartments, we often settle for furniture that is fast, cheap, and temporary. We trade soul for speed. But what if you could bridge that gap? What if you could bring the timeless strength of traditional Indian woodworking into your contemporary home, not by buying an antique, but by creating something new with your own hands?
This is the story of crafting a Sheesham wood coffee table—a project where the wisdom of the Badhai (traditional carpenter) meets the spirit of the modern DIY enthusiast. It’s not about complex joinery requiring a lifetime of skill. It’s about understanding the soul of the wood and using simple, accessible techniques to reveal its beauty. Let’s build a centrepiece for your home that will tell its own story for decades.
Part 1: Why Sheesham? The Wood with a Heartbeat
Before we pick up a tool, we must understand our material. Sheesham is not just any wood; it’s a character.
A Wood Steeped in History:
- The Name: Known botanically as Dalbergia sissoo, and commonly as Indian Rosewood or Shisham.
- The Legacy: For centuries, it was the wood of choice for royal furniture in Rajasthan and Punjab, for ornate temple carvings, and for the robust, everyday furniture of Havelis.
- The Feeling: Run your hand over a sanded piece of Sheesham. It feels solid, dense, and slightly oily. This natural oil is its superpower.
Why It’s Perfect for Your First Major Project:
- Forgiving Strength: It’s a hardwood, so it’s durable and won’t dent easily like pine, but it’s not brutally hard like teak. It’s cooperative for a beginner.
- Glorious Grain: Its heartwood ranges from golden-brown to a deeper reddish-brown, with dramatic, dark, swirling grain patterns that look like a landscape painting. Every piece is unique.
- Stability: When properly dried, it is less prone to warping or cracking compared to many other woods, making it reliable.
- The Finishing Magic: Sheesham takes oil, wax, and polish beautifully. It doesn’t just get a coating; it drinks in the finish and glows from within.
Sourcing Your Sheesham: The Urban Hunt
Gone are the days of visiting the village carpenter’s stock. Here’s your modern guide:
- The Timber Merchant (Lakdi Mandi): Ask for “air-dried Sheesham planks.” Specify you need wood for furniture, not construction. Expect to pay between ₹200-₹400 per cubic foot.
- The Reclaimed Route: Search for old Sheesham furniture pieces in second-hand markets or from homes being renovated. An old door or window frame can be milled down. This wood, already aged for decades, is incredibly stable and has unmatched character.
- Online Specialists: Some vendors now sell pre-planed, project-ready hardwood online. More expensive, but saves the initial milling work.
- What to Look For: Seek planks with interesting grain patterns and avoid those with large, loose knots or deep cracks (daras). A little figuring in the grain is a treasure.
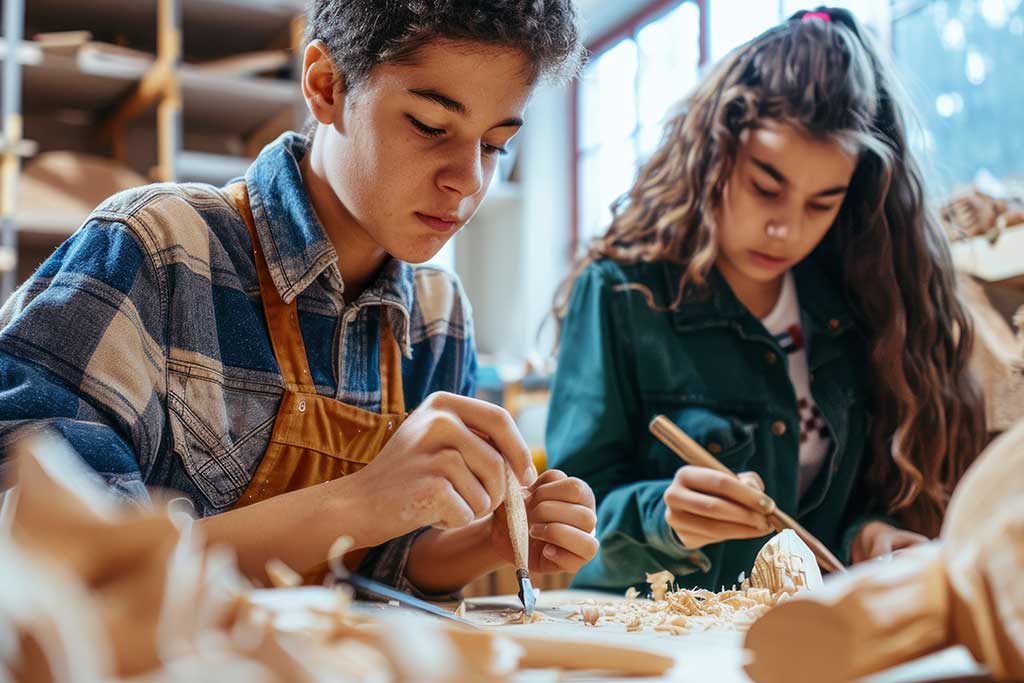
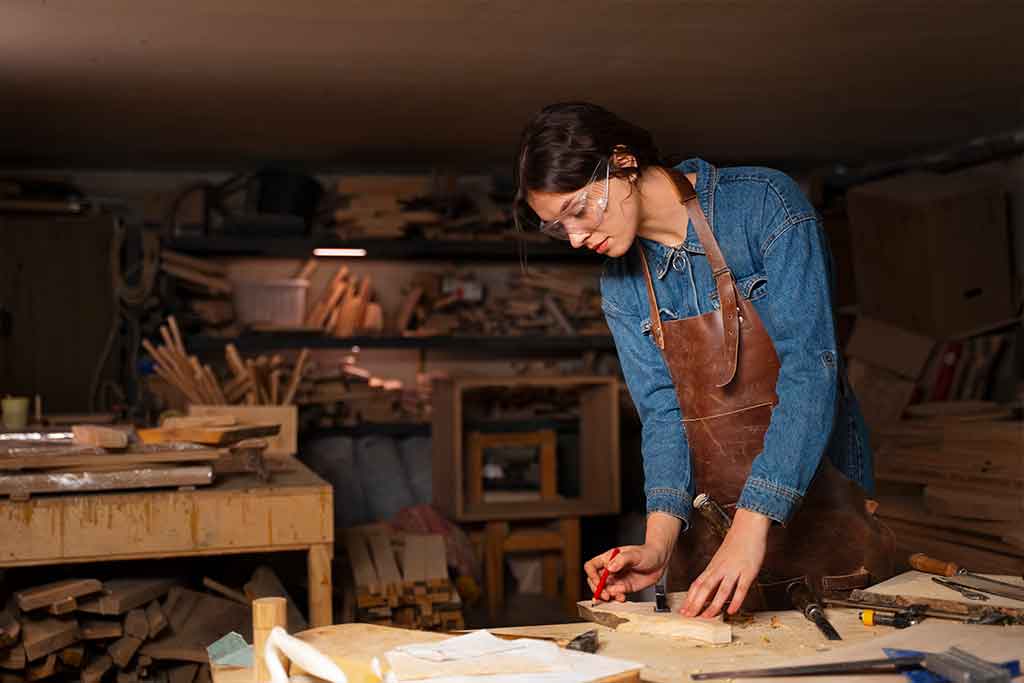
Part 2: The Toolbox – Blending Old and New
We won’t use a traditional aari (hand saw) for everything, but we will respect its principle: precision and patience.
The Essential Toolkit (A Modern Badhai’s Kit):
1. The Measuring & Marking Sages:
- Steel Tape Measure & Carpenter’s Pencil: Your guides. The first rule of Indian woodworking, old or new: “Naap teen baar, kaat ek baar” (Measure thrice, cut once).
- Try Square (Engineer’s Square): This small metal L-shape is non-negotiable. It ensures your cuts and joints are at perfect 90-degree angles—the foundation of stability.
2. The Cutting Ensemble:
- Circular Saw or Japanese Pull Saw (Ryoba): The modern aari. A basic circular saw (₹3,000-₹5,000) makes straight cuts efficient. A Japanese pull saw (₹1,500) is a superb, quiet hand-tool alternative that gives incredibly clean cuts.
- Jigsaw: For cutting the curves if you design arched legs or a unique shape. The modern version of the fret saw.
3. The Joining & Shaping Heart:
- Power Drill/Driver with Drill Bits & Driver Bits: Your most-used modern tool. For making pilot holes and driving screws.
- Wood Chisels (1/2″ & 1″): The timeless hand tool for cleaning out joints and making fine adjustments. This is where you directly connect with the Badhai tradition.
- Random Orbital Sander (or Sanding Block): The game-changer. Traditional sanding was a brutal, hours-long workout with a wooden block and sandpaper. A ROS (₹2,500-₹4,000) does the work in minutes, leaving a flawless surface. If on a strict budget, a sanding block and elbow grease will still get you there.
4. The Clamping Force:
- F-Clamps or Bar Clamps (at least 2): The invisible hands that hold everything together while glue dries. Traditional ropes and wedges have been elegantly replaced by these. Crucial for a wobble-free table.
5. The Finishing Touch:
- Brushes, Rags, and Your Finish of Choice.
Part 3: The Design – A Blueprint for Timelessness
Your coffee table should reflect you. Let’s design a simple, elegant table that highlights the wood.
Classic Elements, Clean Lines:
- The Top: A solid plank, or multiple planks joined edge-to-edge. Size: A classic 48 inches long, 24 inches wide, and 1 to 1.5 inches thick.
- The Legs: Straight, tapered legs are both modern and classic. Alternatively, hairpin legs (available online) offer an instant industrial-modern look on a traditional top.
- The Apron: The horizontal frame that connects the legs under the tabletop. It adds immense strength and is a key feature of traditional table-making.
Design Principle: Keep the lines clean. Let the Sheesham’s grain be the decoration. Avoid overly ornate carvings—this celebrates the material, not the ornamentation.
Part 4: The Build – A Step-by-Step Pilgrimage
Stage 1: The Ritual of Preparation (Milling & Marking)
- Acclimatise: Let your wood sit in your workspace for a week. This allows it to adjust to your home’s humidity, preventing later movement.
- Mill to Size: Using your saw, cut the wood for the tabletop (to your dimensions), four legs (typically 17-18 inches tall), and apron pieces (two long, two short).
- Mark with Sacred Precision: Use your try square and pencil to mark every cut and drilling point. This meditative step is the most important. Clear, dark lines are your map.
Stage 2: Crafting the Frame – Where Strength is Born (The Apron & Legs)
This is the heart of traditional table-making. We’ll use a simple but strong dowelled butt joint.
- Cut the Apron Pieces: Ensure the ends are perfectly square.
- Mark for Dowels: On the ends of the apron pieces and the inside faces of the legs, mark where the dowels will go. Use a dowelling jig if possible for perfect alignment, or measure meticulously.
- Drill for Dowels: Drill holes 2-3 inches deep at your marks, using a drill bit the exact size of your wooden dowels (usually 8mm or 10mm).
- Dry Fit: Assemble the legs and apron with dowels (no glue yet). Does it fit? Does it sit square? Adjust now.
- The Glue-Up – A Sacred Bond: Apply wood glue (Fevicol SR is a classic) inside the dowel holes and on the joining surfaces. Insert dowels, assemble the frame, and clamp it tightly. Wipe away excess glue with a damp cloth. Let it cure for 24 hours. This frame is the soul of your table’s strength.
Stage 3: Creating the Crown – The Tabletop
- If Using Multiple Planks: Join them edge-to-edge. Apply glue to the edges, clamp them together tightly, and let dry. This creates a solid, wide top.
- Attach the Top to the Frame: This is a clever trick. You don’t screw the top directly down hard. Wood moves with the seasons. Use “figure-8” tabletop fasteners or “Z” clips. These attach the apron to the underside of the top, holding it securely while allowing the wood to expand and contract naturally. This is modern hardware solving a traditional problem.
Stage 4: The Touch of the Hand – Sanding
This transforms rough wood into silk.
- Start Coarse (80-100 Grit): Remove saw marks and flatten surfaces. Always sand with the grain.
- Move to Medium (120-150 Grit): Smooth out the scratches from the coarse paper.
- Finish Fine (180-220 Grit and up to 320): This is where the magic happens. The wood becomes smooth to the touch. Spend time here. The quality of your finish depends on this.
- Hand-Sand the Final Grits: For the last pass, use a sanding block by hand. Feel the wood come alive under your fingertips.
Part 5: The Awakening – Finishing Your Sheesham
This is not just protection; it’s a revelation.
The Finish Choices:
- Pure Tung Oil or Danish Oil (The Recommended Beginner’s Choice):
- Why: It’s easy. You flood the surface, let it soak, and wipe off the excess. It penetrates deep, enhances the grain, and leaves a natural, satin feel. It’s also easy to repair.
- Process: Apply liberally with a rag. Wait 15-30 minutes. Wipe off ALL excess. Let dry 24 hours. Lightly sand with 320-grit paper. Repeat for 3-4 coats. The wood will drink it in and glow.
- Hard Wax Oil (A Modern Marvel):
- Brands like Rubio Monocoat or Osmo Polyx. They offer incredible protection with a single coat (or two), are eco-friendly, and feel like raw wood. They are expensive but foolproof.
- The Traditional Lac (Shellac) Polish:
- This is the path of the purist. It involves applying many thin coats of shellac (derived from insects) with a pad, then polishing to a soft, deep sheen. It’s a beautiful skill but less durable against heat and water.
The Application Ritual: Find a clean, dust-free space. Apply your chosen finish according to its instructions. Between coats, do a very light “de-nibbing” sand with extra-fine sandpaper (400+ grit) to ensure a glass-smooth surface. Let the final coat cure fully for at least 72 hours before use.
Part 6: The Lesson in Every Grain – What You’ve Really Built
When you place your first chai cup on this table, you’ll feel more than pride. You’ll have learned:
- Respect for Material: You understand why Sheesham is revered. You’ve felt its density and seen its hidden patterns emerge.
- The Power of Patience: Woodworking cannot be rushed. The glue must dry. The finish must cure. This is an antidote to our fast-paced world.
- Problem-Solving (Jugaad): When a joint was too tight or a cut wasn’t perfect, you found a solution. You became a Badhai in spirit.
- A Living Connection: This table will change. It will darken with age. It might get a ring from a cold glass. These aren’t flaws; they are the beginning of its patina, its story. Your story.
Your Sheesham coffee table is no longer just furniture. It is a testament to the fact that the timeless and the contemporary can live together. It is proof that the warmth of traditional Indian craft can be born anew in a modern apartment, not from a store, but from your own vision and effort.
You haven’t just made a table. You’ve woven a thread of heritage into the fabric of your daily life. And every time someone admires it, you can smile and say, “It’s Sheesham. And I made it.”
Previous Post
Next Post


Advertisement

Advertisement